Theres a new kid on the veggie block that you should be aware of. I’ve tested Berlin based Laubwerk’s 3D Plants Kits for a while now, and it is a very interesting solution for populating your scenes with 3d Trees and Plants. A combination of smart content powered by a plugin from within 3ds Max & Cinema4D, supporting V-Ray, Mental Ray, Scanline and Advanced Render.
Adding vegetation to my scenes is a big part of my workflow, so any improvement on that aspect has a big impact in turn too. Considering Im using VRay and VRayRT for rendering and doing all my 3d Scattering with Forest Pack Pro, any good solution must play nicely with both of them!
I’ve grown tired of parametrically creating trees and plants with applications such as Onyx or GrowFX. as good as these apps are and no matter how amazingly good looking trees you can make with them, it is time-consuming and not that scalable. I remember that Onyx TreeStorm plugin had a similar premise as Laubwerk’s Plant kits + Player have, but it was sluggish and just didn’t fly that well.
I found myself resorting to using static trees scattered and painted in with Forest Pack Pro manually managing all aspects of those trees… and this is where Laubwerk Plants Kit + Player came in, in between the complicated parametric approach to the simple and fast static one.
I’m going through the main aspects of the Plants Kit & Player below, but I’m inviting you to try Laubwerk’s Plants Kit Freebie. Grab it here and take it for a spin ![😉]()
[wpsharely]
![get-the-files]()
You’ll be redirected to Laubwerk’s shop directly into the cart with the freebie kit loaded in… These plants are coming with the Plants Kit Freebie…
Field Maple (Acer campestre) : Medium-size tree or shrub; broadly conical or ovoid to round, moderately growing. The dark green usually five-lobed leaves turn bright yellow, seldom orange in fall.
Frangipani (Plumeria rubra) : Grows as a spreading shrub or small tree with a short trunk and a sparse open crown with many branches. The dark green leaves are simple, large and thick. The flowers are large, attractive and fragrant. Extensively planted throughout the tropical and sub-tropical regions of the world.
[/wpsharely]
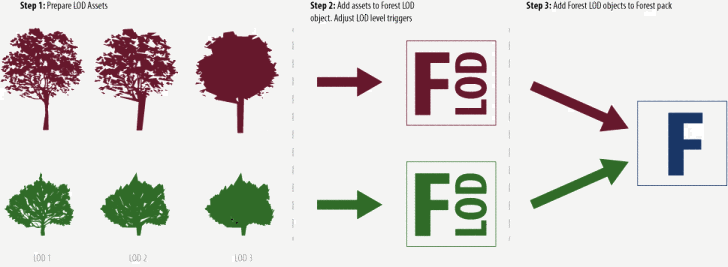
The Laubwerk Player Plugin
The approach of driving the content using a plugin built into 3ds Max (and C4D) is a great one! iToo Software did the same thing with Forest Pack Pro & RailClone and this represents a big productivity boost.
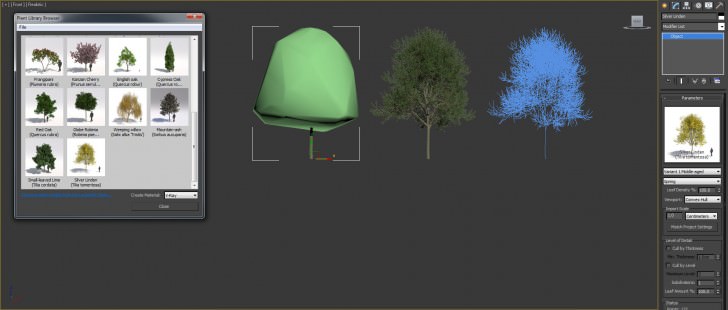
![laubwerk-plants-kit-library-and-player]()
It can’t be any simpler then how it is implemented. Once installed you get a new menu item called ‘Laubwerk’ from which you can call up the library browser and just Drag and Drop the tree you like into the scene. Once inside you can control the way the preview is shown, age, season, leaf density and overall LOD (Level of Detail).
Viewport Preview Modes
There are 3 viewport preview mode:
- Convex Hull – being the default and most efficient way to work in my opinion, as it offers less load on the screen refresh, and you can block in the trees very easily spotting intersection with scene geometry.
- Skeleton – Still offering less load on the screen refresh rates but allows you to see through the tree and thus help in placing considering background elements too. With lots of trees I would not go for this one in any case.
- Render Geometry – For the real deal! This will show you the full detail of the tree and thus offers best possible preview but at a great cost to performance, so only do this for single tree checkup and not on mass!
Here’s the preview scene in all modes…
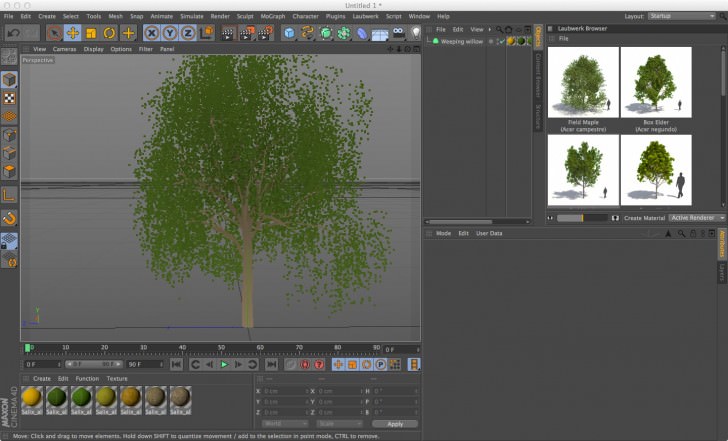
Since I’ve made the skeleton capture above I got the latest update which looks more like a point cloud and a move in the right direction since it flows way better then wire skeletons. It is not colored currently in 3ds Max but the Cinema4D version does Both 3ds Max and C4D versions of this new skeleton preview pick the colors from the diffuse channel. Looks and flows pretty good in the viewport.
![laubwerk-plants-kit-viewport-skeleton-new-1-0-5-color]()
Here’s how it looks in a Cinema4D viewport…
![laubwerk-plants-kit-viewport-skeleton-new-1-0-5-c4d]()
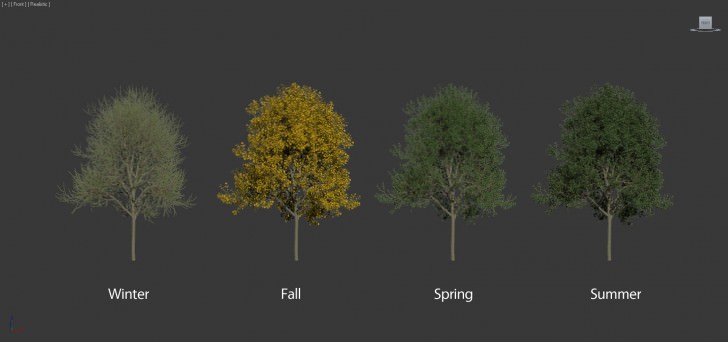
Age & Seasons
I mentioned smart content, and season support is a great example for that. Laubwerk has taken the load off from you and each tree comes with winter, fall, spring and summer materials.
![laubwerk-plants-kit-seasons]()
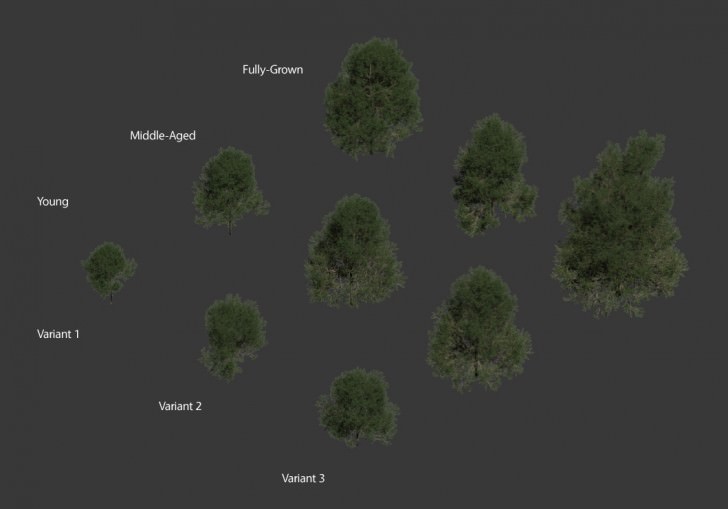
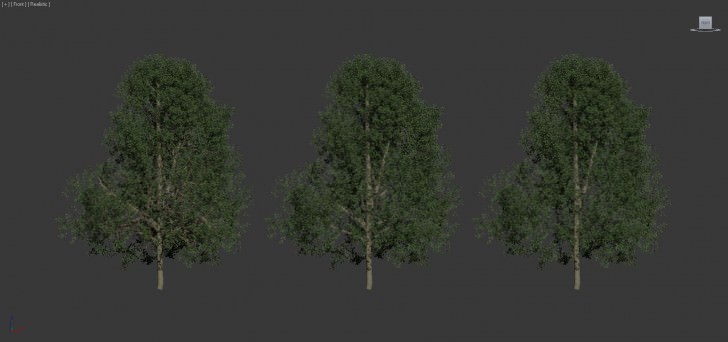
They are also provided in 3 ages and 2-3 variants.
![laubwerk-plants-kit-age-and-variants]()
10 trees per kit might come across as too little, but you are actually getting 360 possible variants by playing with the variant, age and season parameters.
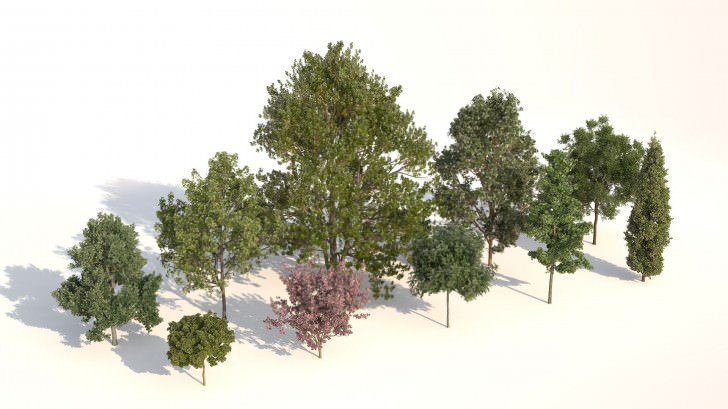
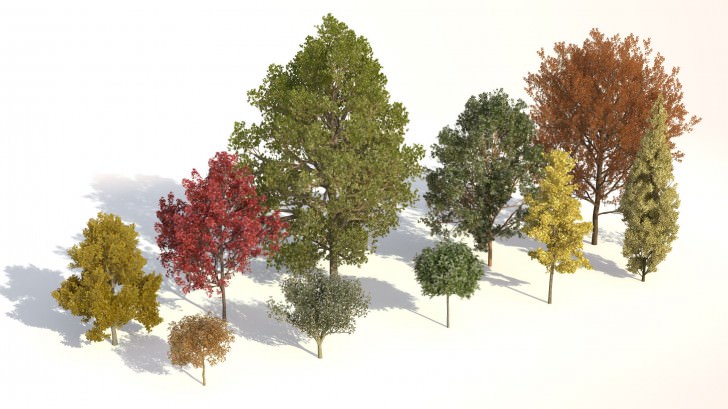
![Laubwerk_Plants_Kit1]()
![Laubwerk_Plants_Kit1_variations]()
Laubwerk Plants Kit 1 up above includes 10 highly useful, popular tree species in Northeastern America and Europe: box elder, red maple, sugar maple, Pauls scarlet hawthorn, ginkgo, kanzan cherry, cypress oak, red oak and globe robi.
LOD / Level of Detail
A very important feature of the plugin is the ability to control the level of detail your tree has. I did not play with that too much other than see it is there and mostly used the leaf amount reduction feature, but you can also control the level of subdivision on branches and if the will show up or not. I know there are plans to make this ‘sensitive’ to the distance from the camera, so that this LOD adjustment will happen automatically on the fly. Currently, it is up to you to prep the trees the way you like considering the distance you place them and amount of detail you need shown.
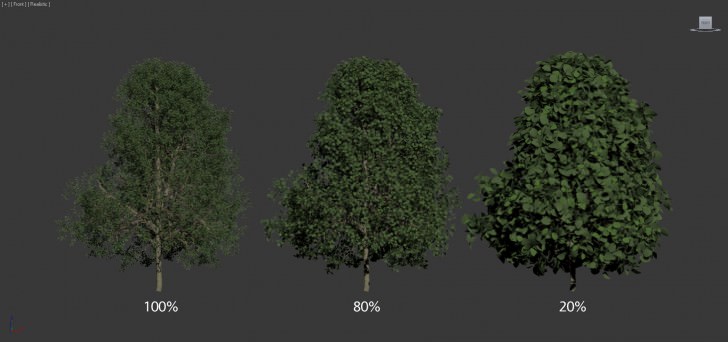
Below you can see the same tree with various levels of leaf reduction…
![laubwerk-plants-kit-LOD-leaf-amount]()
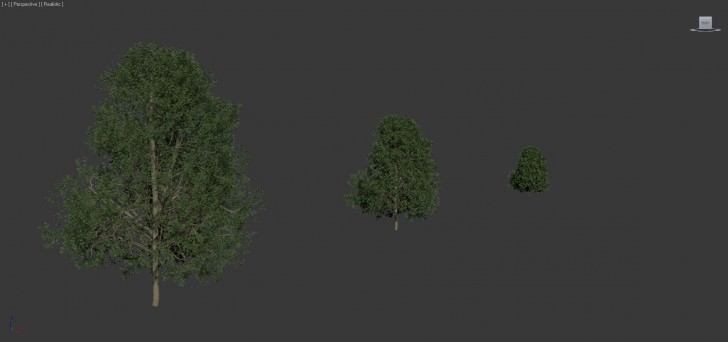
It might seem odd at first, as the leaf size gets bigger in relation to the reduction of amount, but considering the distance you’ll place these trees – it makes sense. With this LOD adjustment you are not actually aiming for a tree with less leaves. You still want the same visual impact but using less polys for it. See below how it looks…
![laubwerk-plants-kit-LOD-leaf-amount-in-distance]()
With the Cull feature you can also ‘prune’ branches considering there radius size… but as I mentioned – I did not use that much yet.
![laubwerk-plants-kit-LOD-branch-cull]()
VRay Proxy Support
The way V-Ray Proxy works is it basically sits in the scene and when V-Ray starts rendering, only a bounding box is passed to the renderer. When the bounding box is hit by a ray the geometry is loaded from disk and placed in V-Rays dynamic geometry cache. When the cache get’s bigger than the cache limit in the settings, V-Ray tries to free the memory for objects that haven’t been used for a while. In case a ray hits the bounding box again, it is loaded again.
Laubwerk Plant object behaves the same way out of the box..
It still makes sense to use instances, since the process above then only happens once for that instance. If you have multiple proxies of the same object in the scene, they may still be loaded multiple times and use more memory.
This feature is only working on V-Ray for 3ds Max currently.
Forest Pack Pro Support
Plants Kit are fully compatible with Forest Pack Pro and work with it smoothly in VRayRT too. For example, Forest will pick up the point cloud preview directly from the Plants Kit skeleton object instead of creating it as new. No geometry is hitting the memory like this which results in faster performance. Knowing that iToo Software and Laubwerk are working together in making both plugins work as best as possible I’m sure the level of integration will become tighter in future updates, and controlling tree parameters on mass via Forest Pack Pro could become a reality.
Summary
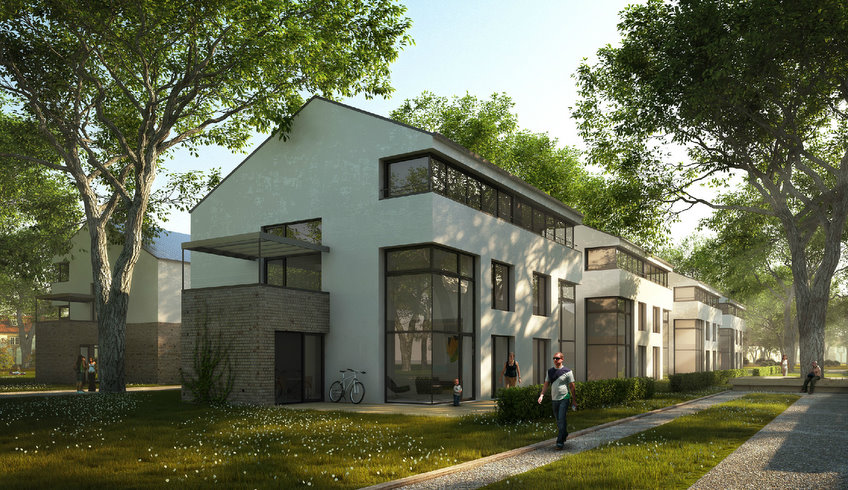
I really like this plugin, and I am waiting for more content for it! There’s only one kit available now ( + freebie that you can grab at the top or down below), but the 2nd is coming and I know Laubwerk is picking up speed with more kits to come. They built a simple and capable solution that mixes content and a plugin and now more content should be the focus along side the further development of the plugin.
![laubwerk_1078_200_v002a]()
The most important aspects of it, and what makes it shine are:
- Drag and Drop smart 3d trees
- Render Ready with dedicated V-Ray support
- Forest Pack Pro compatible
- built in variations for age and season (36 variations per tree)
- LOD – Level of Detail control
I’m very much looking forward to a tighter integration with Forest Pack Pro. One that will allow control of tree parameters on scatter. Dynamic LOD based on distance to camera will be a big boost as currently this must be done manually and not practical with large scattered areas as cameras my change… this must be done on the fly. Faster model load/build is also more then welcome. I know they are working on caching solutions so I expect this to be improved soon.
You should really dedicated a few minutes to read Laubwerk’s Technology page and see what are they aiming at. I’ll keep you updated on this one and feel free to ask any question you may have in the comment section below ![😉]() Don’t forget to get the freebie!
Don’t forget to get the freebie!
[wpsharely]
![get-the-files]()
You’ll be redirected to Laubwerk’s shop directly into the cart with the freebie kit loaded in… These plants are coming with the Plants Kit Freebie…
[/wpsharely]
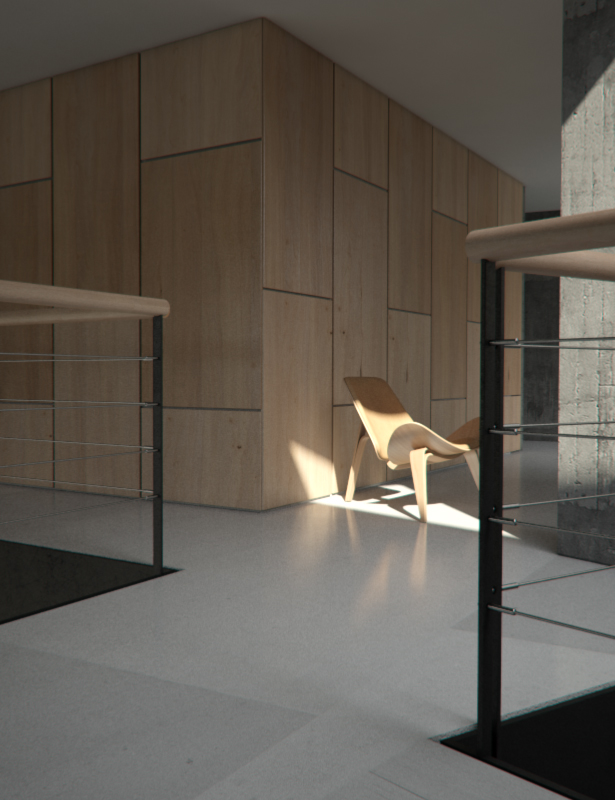
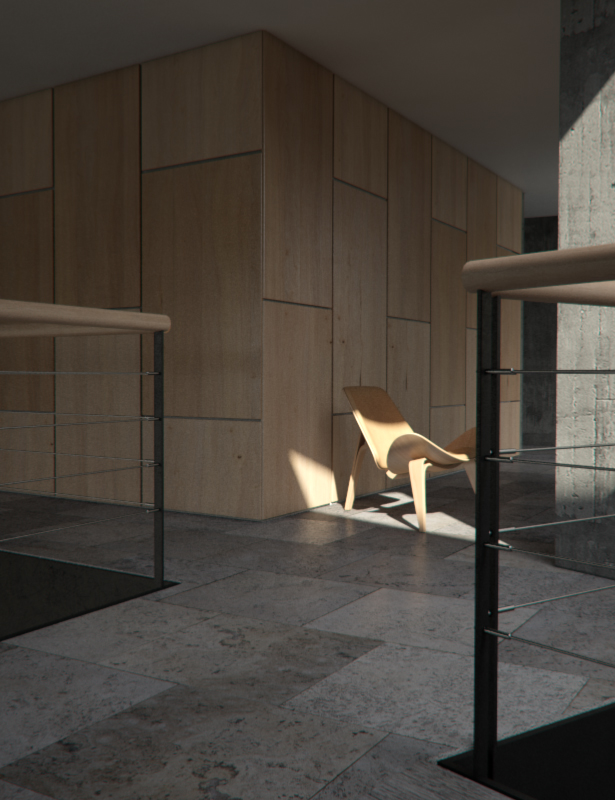
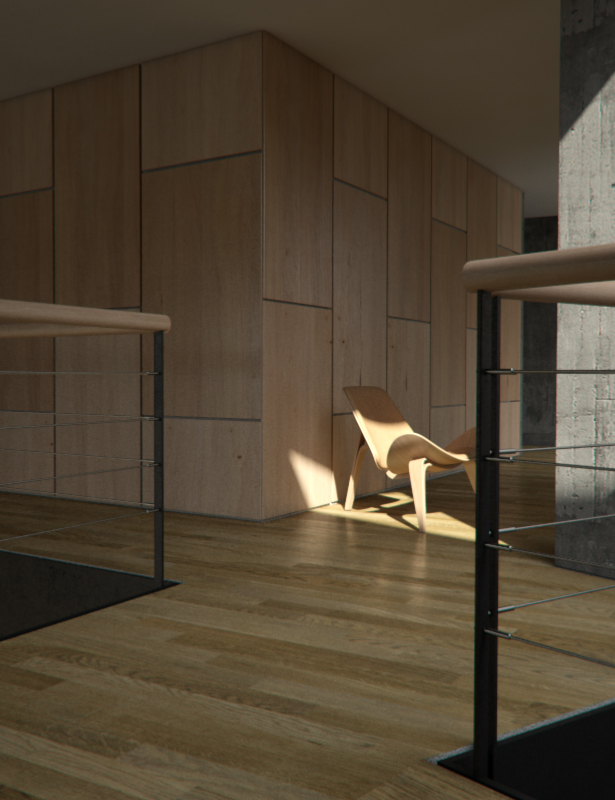
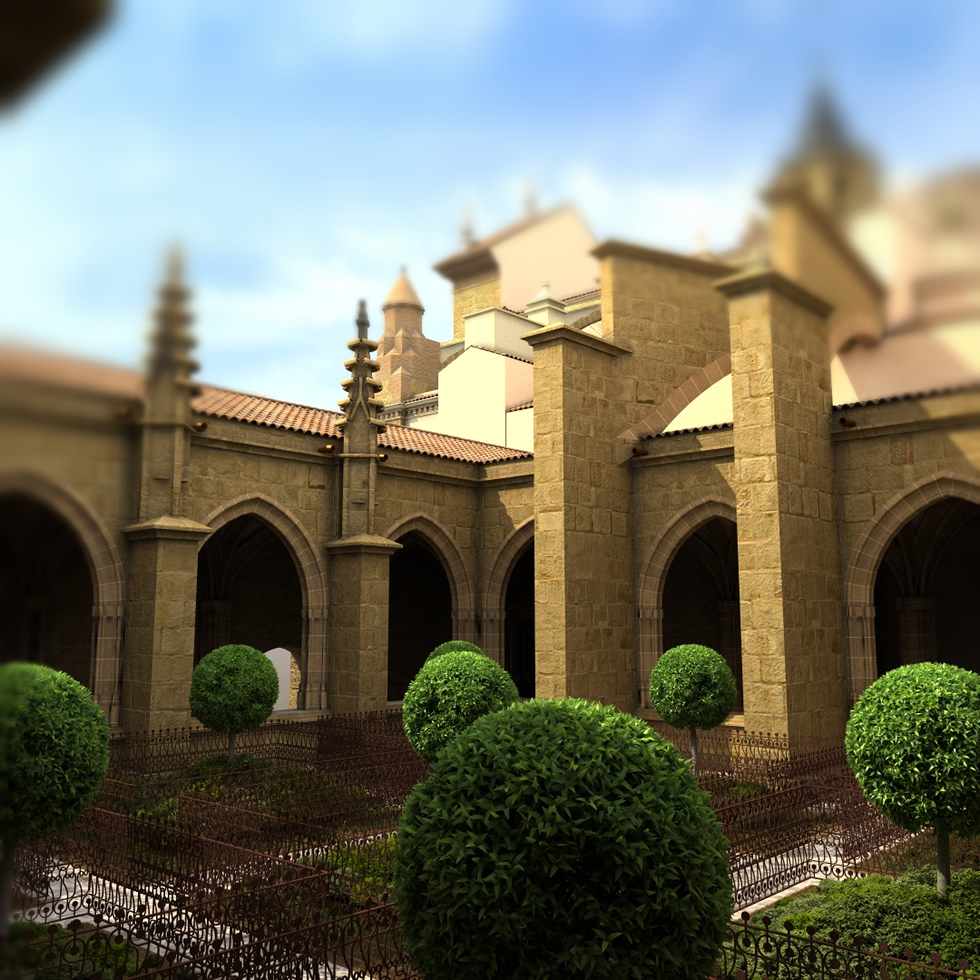
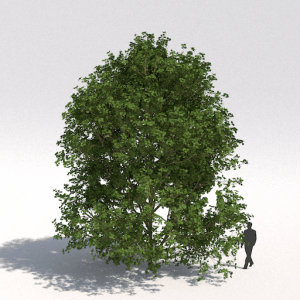
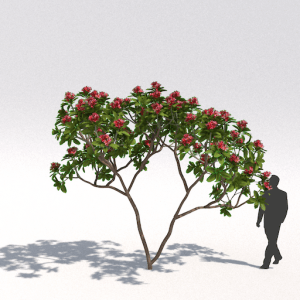
Here are some examples from Zoran Gorski (Kizo) with the Cinema4D Version…
Cheers,
Ronen
Laubwerk 3D Plants Kit is a post from Ronen Bekerman's 3D Architectural Visualization Blog